Removing cataracts from a vintage 60's color roundie television set
I have read different accounts and posts from other folks who have done this. I have also watched some YouTube vids of folks doing it. I am not criticizing anyone else’s strategy here - just saying that I personally found that many of the lengthy steps (pre-soaking - pre-heating - and scraping out the edges) were totally unnecessary.
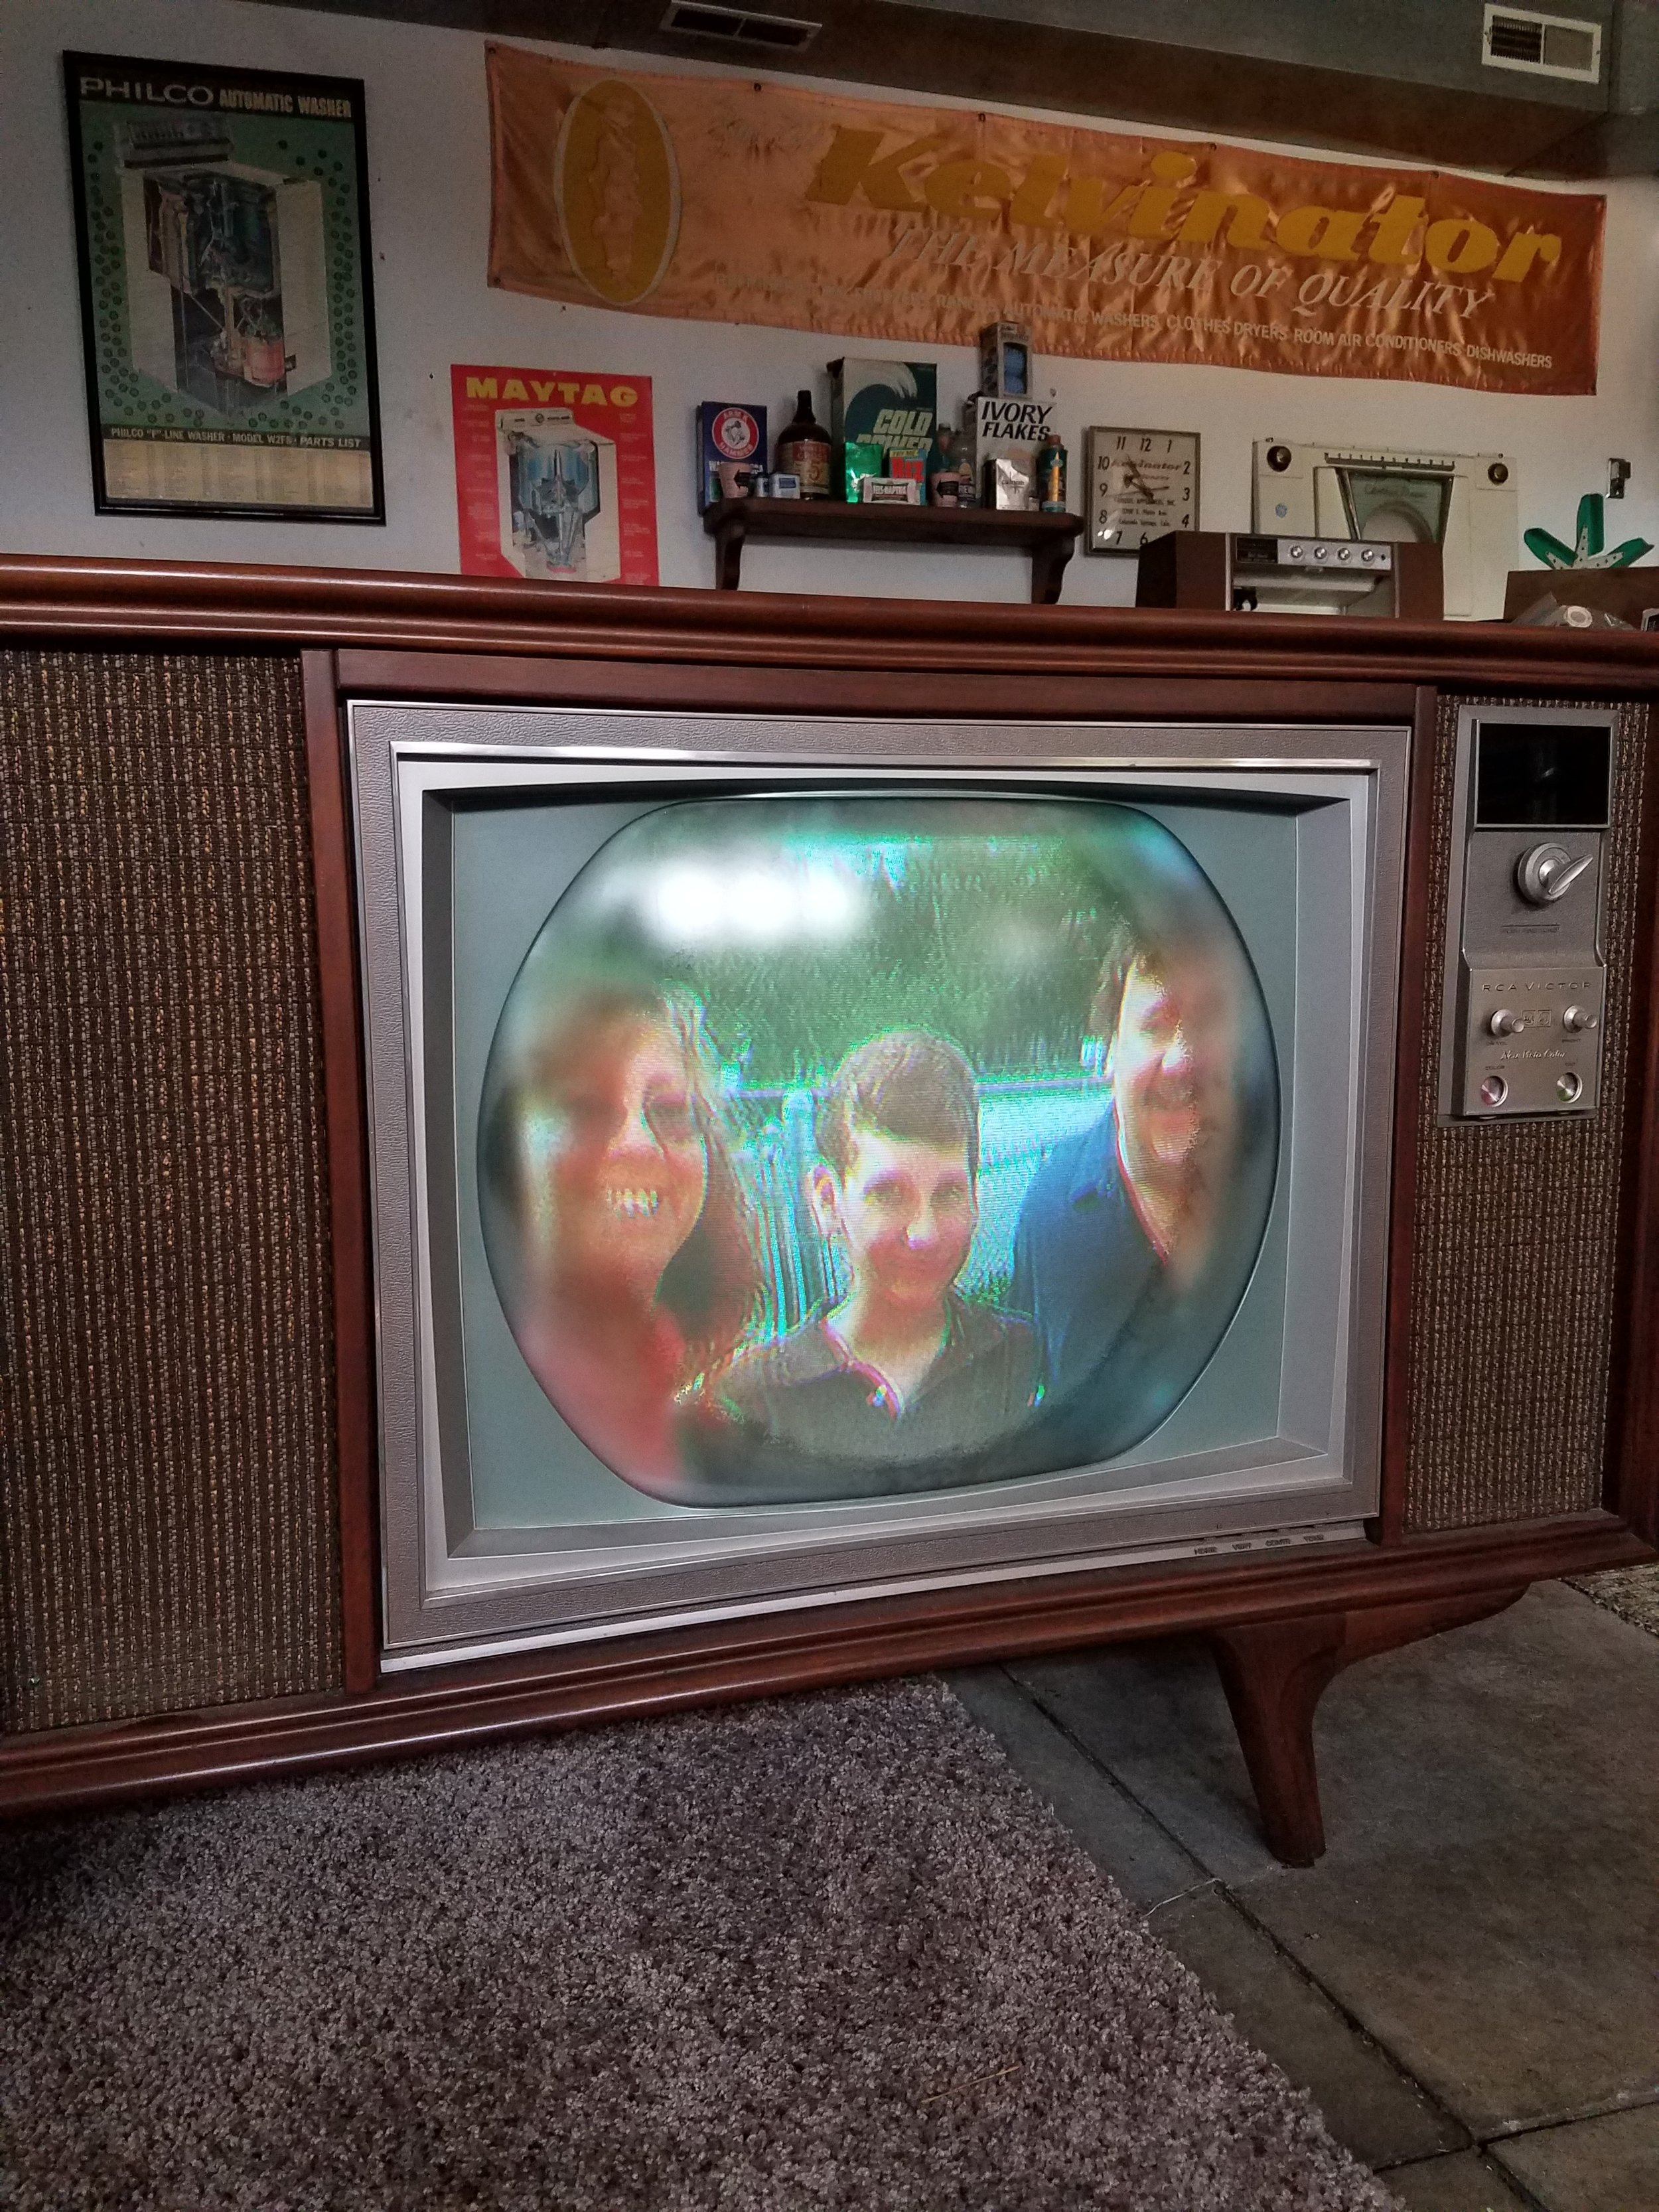
Below are some pics showing the stages. The chassis on this set still needs to be recapped. The color and picture tube are actually quite nice… but the filters are bad which is keeping the picture from properly spreading out and filling the screen completely.
It was my first time doing this - but with the help of a friend - we were able to do 3 of these picture tubes in about an hr and a half.
In some of the pics of the tube - you will see that the perimeter has chunks of adhesive that were dug out. I did this on the first tube we worked on - but on the next one we found that this step was not necessary and just wasted time.
We supported the picture tube safely in a tall bucket and wrapped the tube with a heavy blanket for safety. There is a band of tape around the perimeter of the picture tube that we scored with a razor knife. We then used a heat gun to soften up the adhesive between the 2 pieces of glass. You can actually see the air getting in under the adhesive as it loses it’s attachment to the top glass. As you see this happening… you move the heat gun along. In one of the pics you can actually see the slightly darker area developing under the heat gun. This darker area is the indication that the adhesive bond has let go. Probably a good idea not to stay in one area too long with the heat gun … and also if the glass is cold to start with, you should probably warm it up slowly so that it does not crack from a sudden drastic temperature change. And the same would apply for not letting it cool down too quickly either… in case you are doing this in the winter in a cold garage (which I would not recommend).
We moved in a spiral starting on the outside edge… moving along the perimeter and working in towards the center.
Then with just a little pulling by hand - the top cover glass lifted off. If pulling it by hand does not work and you need a little more force… you can gently tap some wooden shims in between the two glass pieces and apply some more heat with the heat gun. Space 3 or 4 shims at even intervals around the perimeter and tap in very slowly. Remember that you are working on glass.
While the adhesive layer is still warm - it is quite easy to then peel off in one sheet . Then - a good cleaning with some lacquer thinner or acetone and then a final cleaning to the glass surfaces with some glass cleaner.
For re-assembly some folks like to put little pieces of double sided foam tape around the perimeter… this helps to keep an even gap between the two pieces of glass. Some folks also then seal the perimeter with some tape or even a bead of silicone caulking. This helps keep dust from getting in between the two glass sections.
We skipped the double sided tape and just put the 2 pieces of glass directly together and then taped around the edge seam.