Refinishing a Mid Century Modern Dresser / Credenza
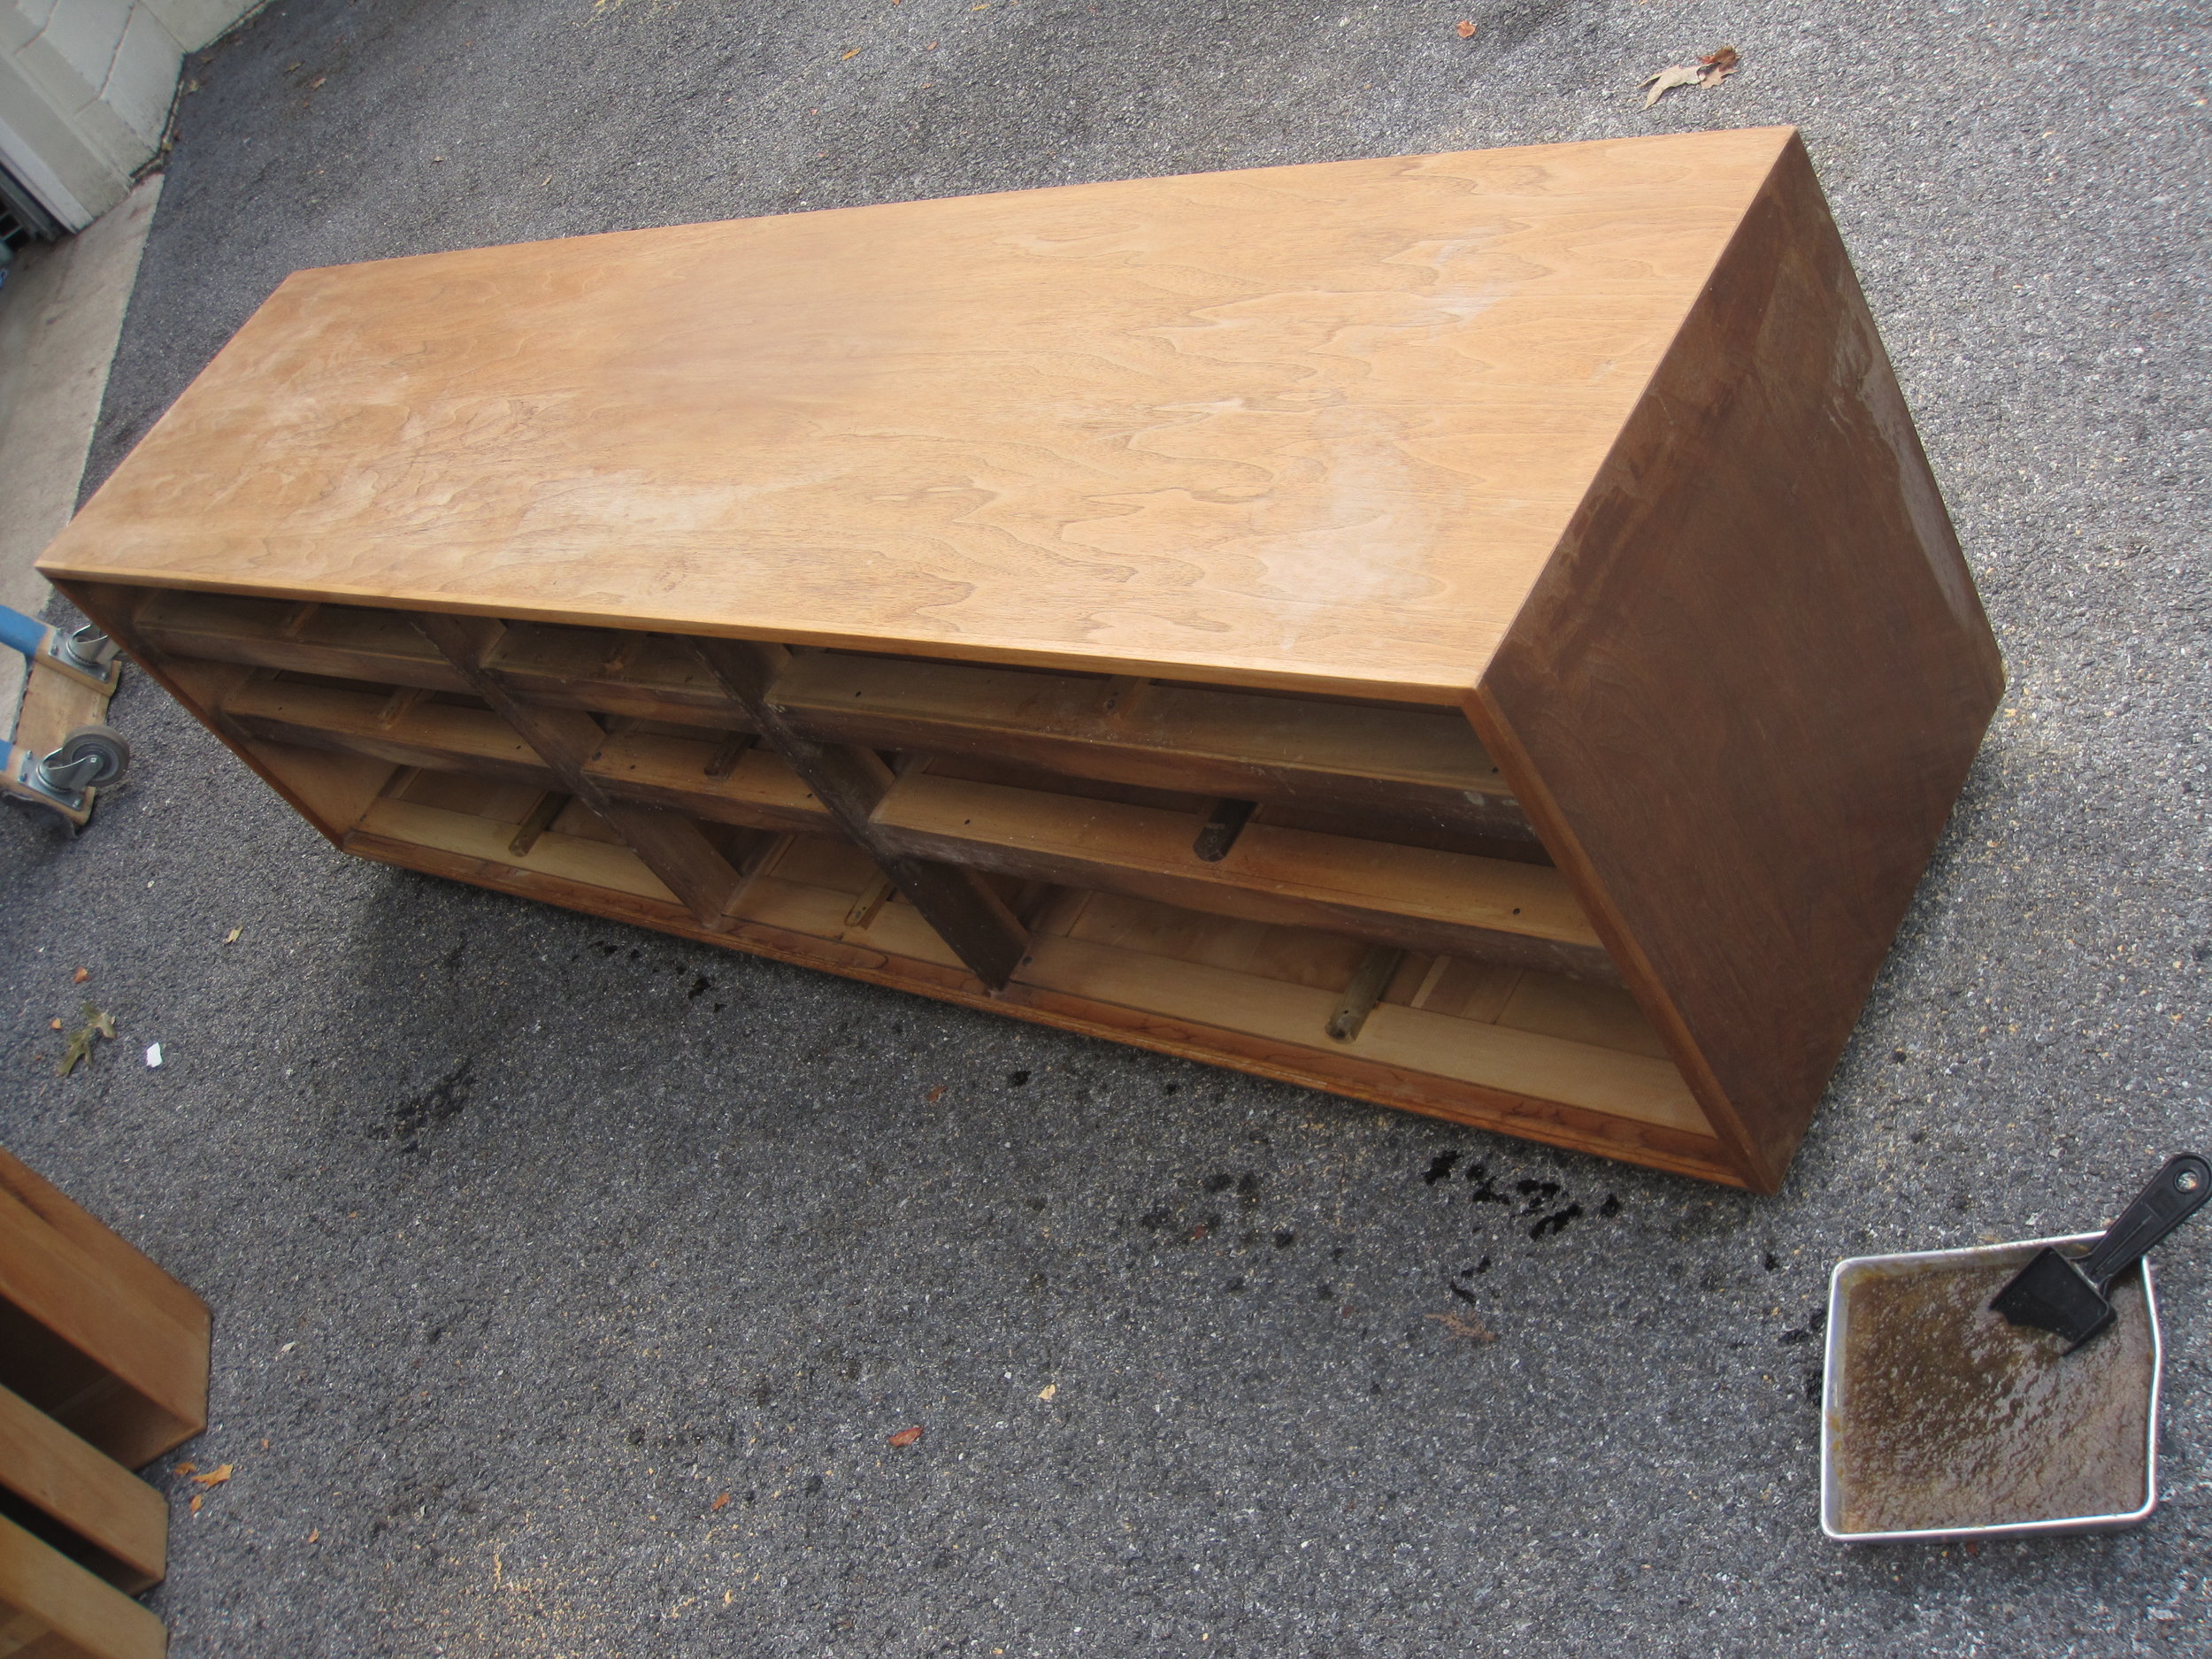
This is one piece of a matching bedroom set. As you can see in the before pics the finish was pretty bad and there were some stains and scratches. Sanding veneer almost always darkens the color so it is nearly impossible to get the original color tone unless you heavily tint a sprayed on lacquer finish top coat. I often spray on a lacquer clear coat but with this piece I went with a rubbed light color stain and then a rubbed on clear satin oil finish. For an oil rub finish - you can use Watco (danish/ teak oil) or AFM Safecoat makes great low and no VOC products. And I have done work for folks who are chemically sensitive and actually just finished pieces in olive oil for them.
The first step is to use a chemical stripper and carefully scrape off the existing finish. Stripping a piece first makes sanding much easier and also enables you to do far less sanding which greatly reduces the risk of sanding through the veneer. If you sand through the veneer - you pretty much have ruined any chance of having a natural wood grain finish. Wear gloves and be careful not to put dig marks in the surface when scraping off the stripper... so don't push down hard with your scraper. I like using a wide plastic putty knife.
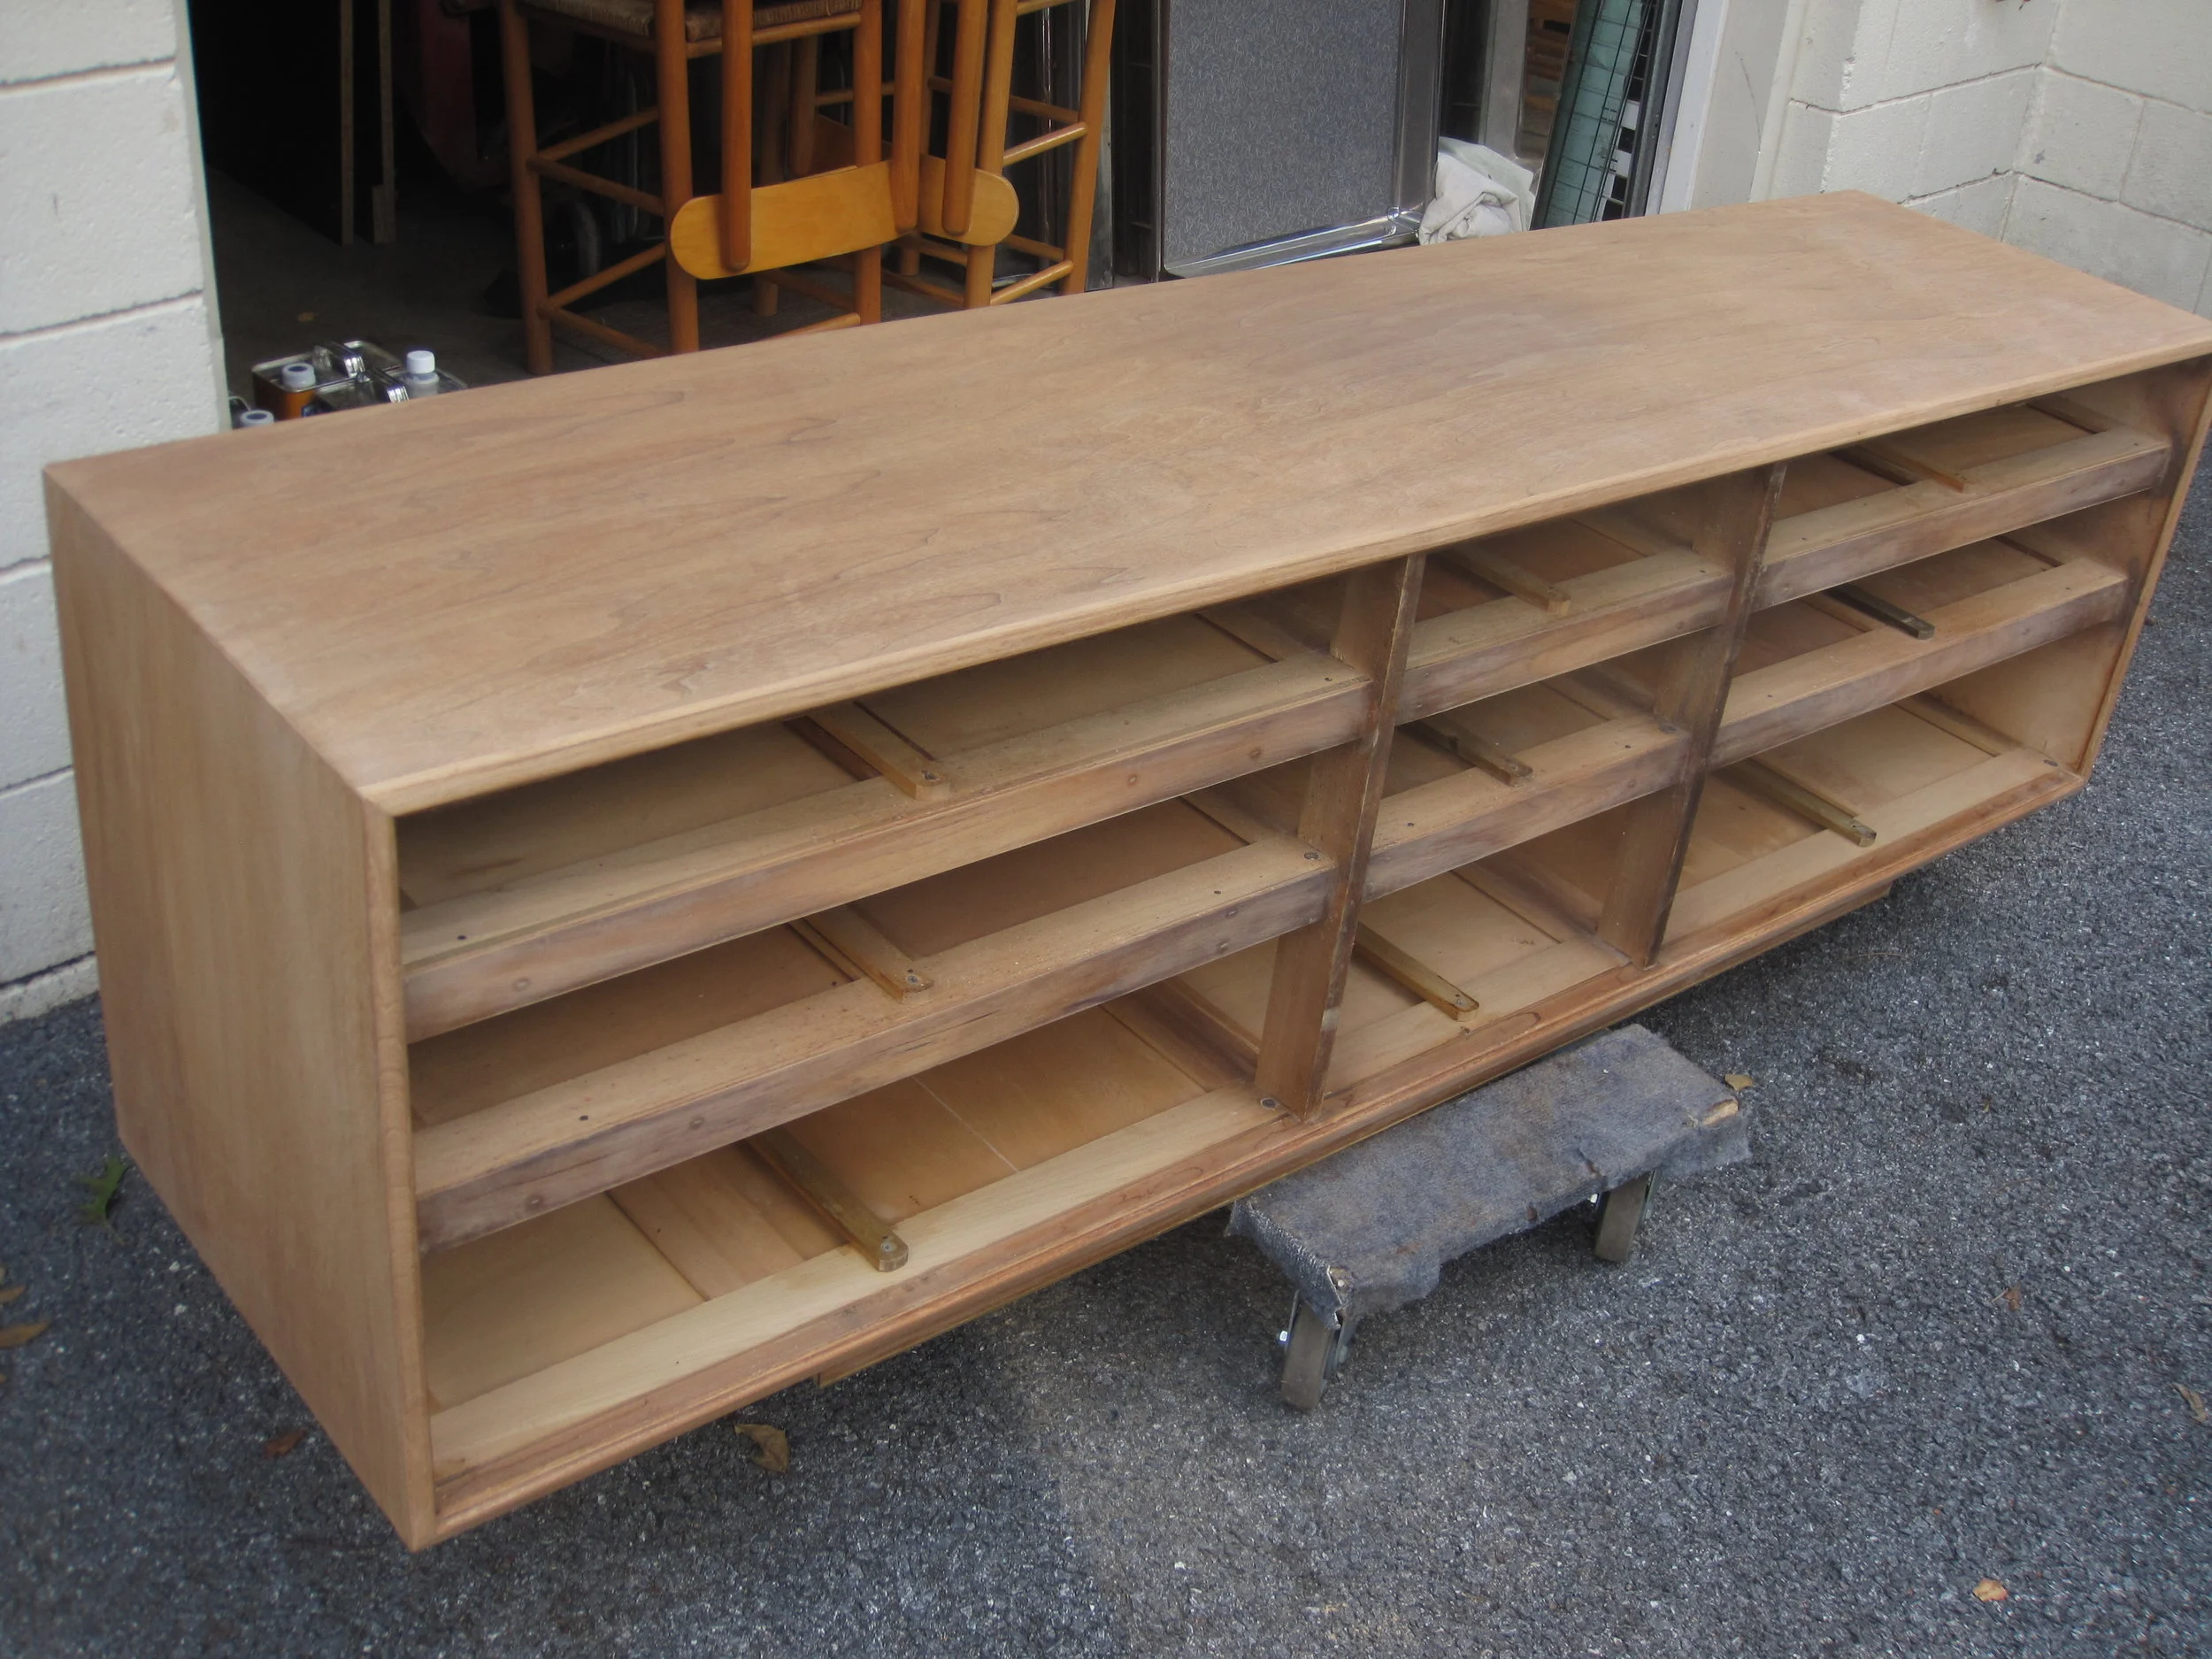
In many cases it is good to use a sanding block under your paper to keep the sanding perfectly level. But when you are working with an old case piece that is not perfectly level or square and might have slightly raised areas on the edges (be extra careful when sanding the perimeter surface edges) block sanding is probably not a good idea. For some pieces that have grain going in different directions - a random orbital sander is great... but more frequently I tend to hand sand in the direction of the grain. This lets me keep the most control on how much material I remove. When hand sanding use long full strokes - don't put a lot of pressure on the sandpaper -don't put your fingers in line with the grain -keep them slightly perpendicular to the grain - and try to sand all areas the same so that you don't have color variations in the veneer. The deeper you sand - the more the wood tone of the veneer can change. And - as you sand deeper towards the glue layer under the veneer, you will get less color absorption with your stain.
This piece came out pretty well. There are still a few finishing touches I have to put on it and probably one more top coat of oil rub. There is still a slightly darker area in the center where something probably sat for decades. I was able to greatly minimize it - but you can still see it. I could have bleached this area and worked with it some more - but I chose not to do that this time.
Here are the steps I used on this dresser that you can apply to refinishing another piece:
-apply chemical gel stripper according to directions on can.
-scrape off stripper and wipe and clean off all residue really well with rags that are wet with lacquer thinner. In some cases you'll want to make a second cleaning pass with extra fine steel wool (also wet with lacquer thinner) in the direction of the grain.
-after wood is completely dry do a very light sanding with 150 grit paper. Just a few passes... do not sand too much with the 150. Then switch to a 320 grit and complete sanding noting the comments I made earlier.
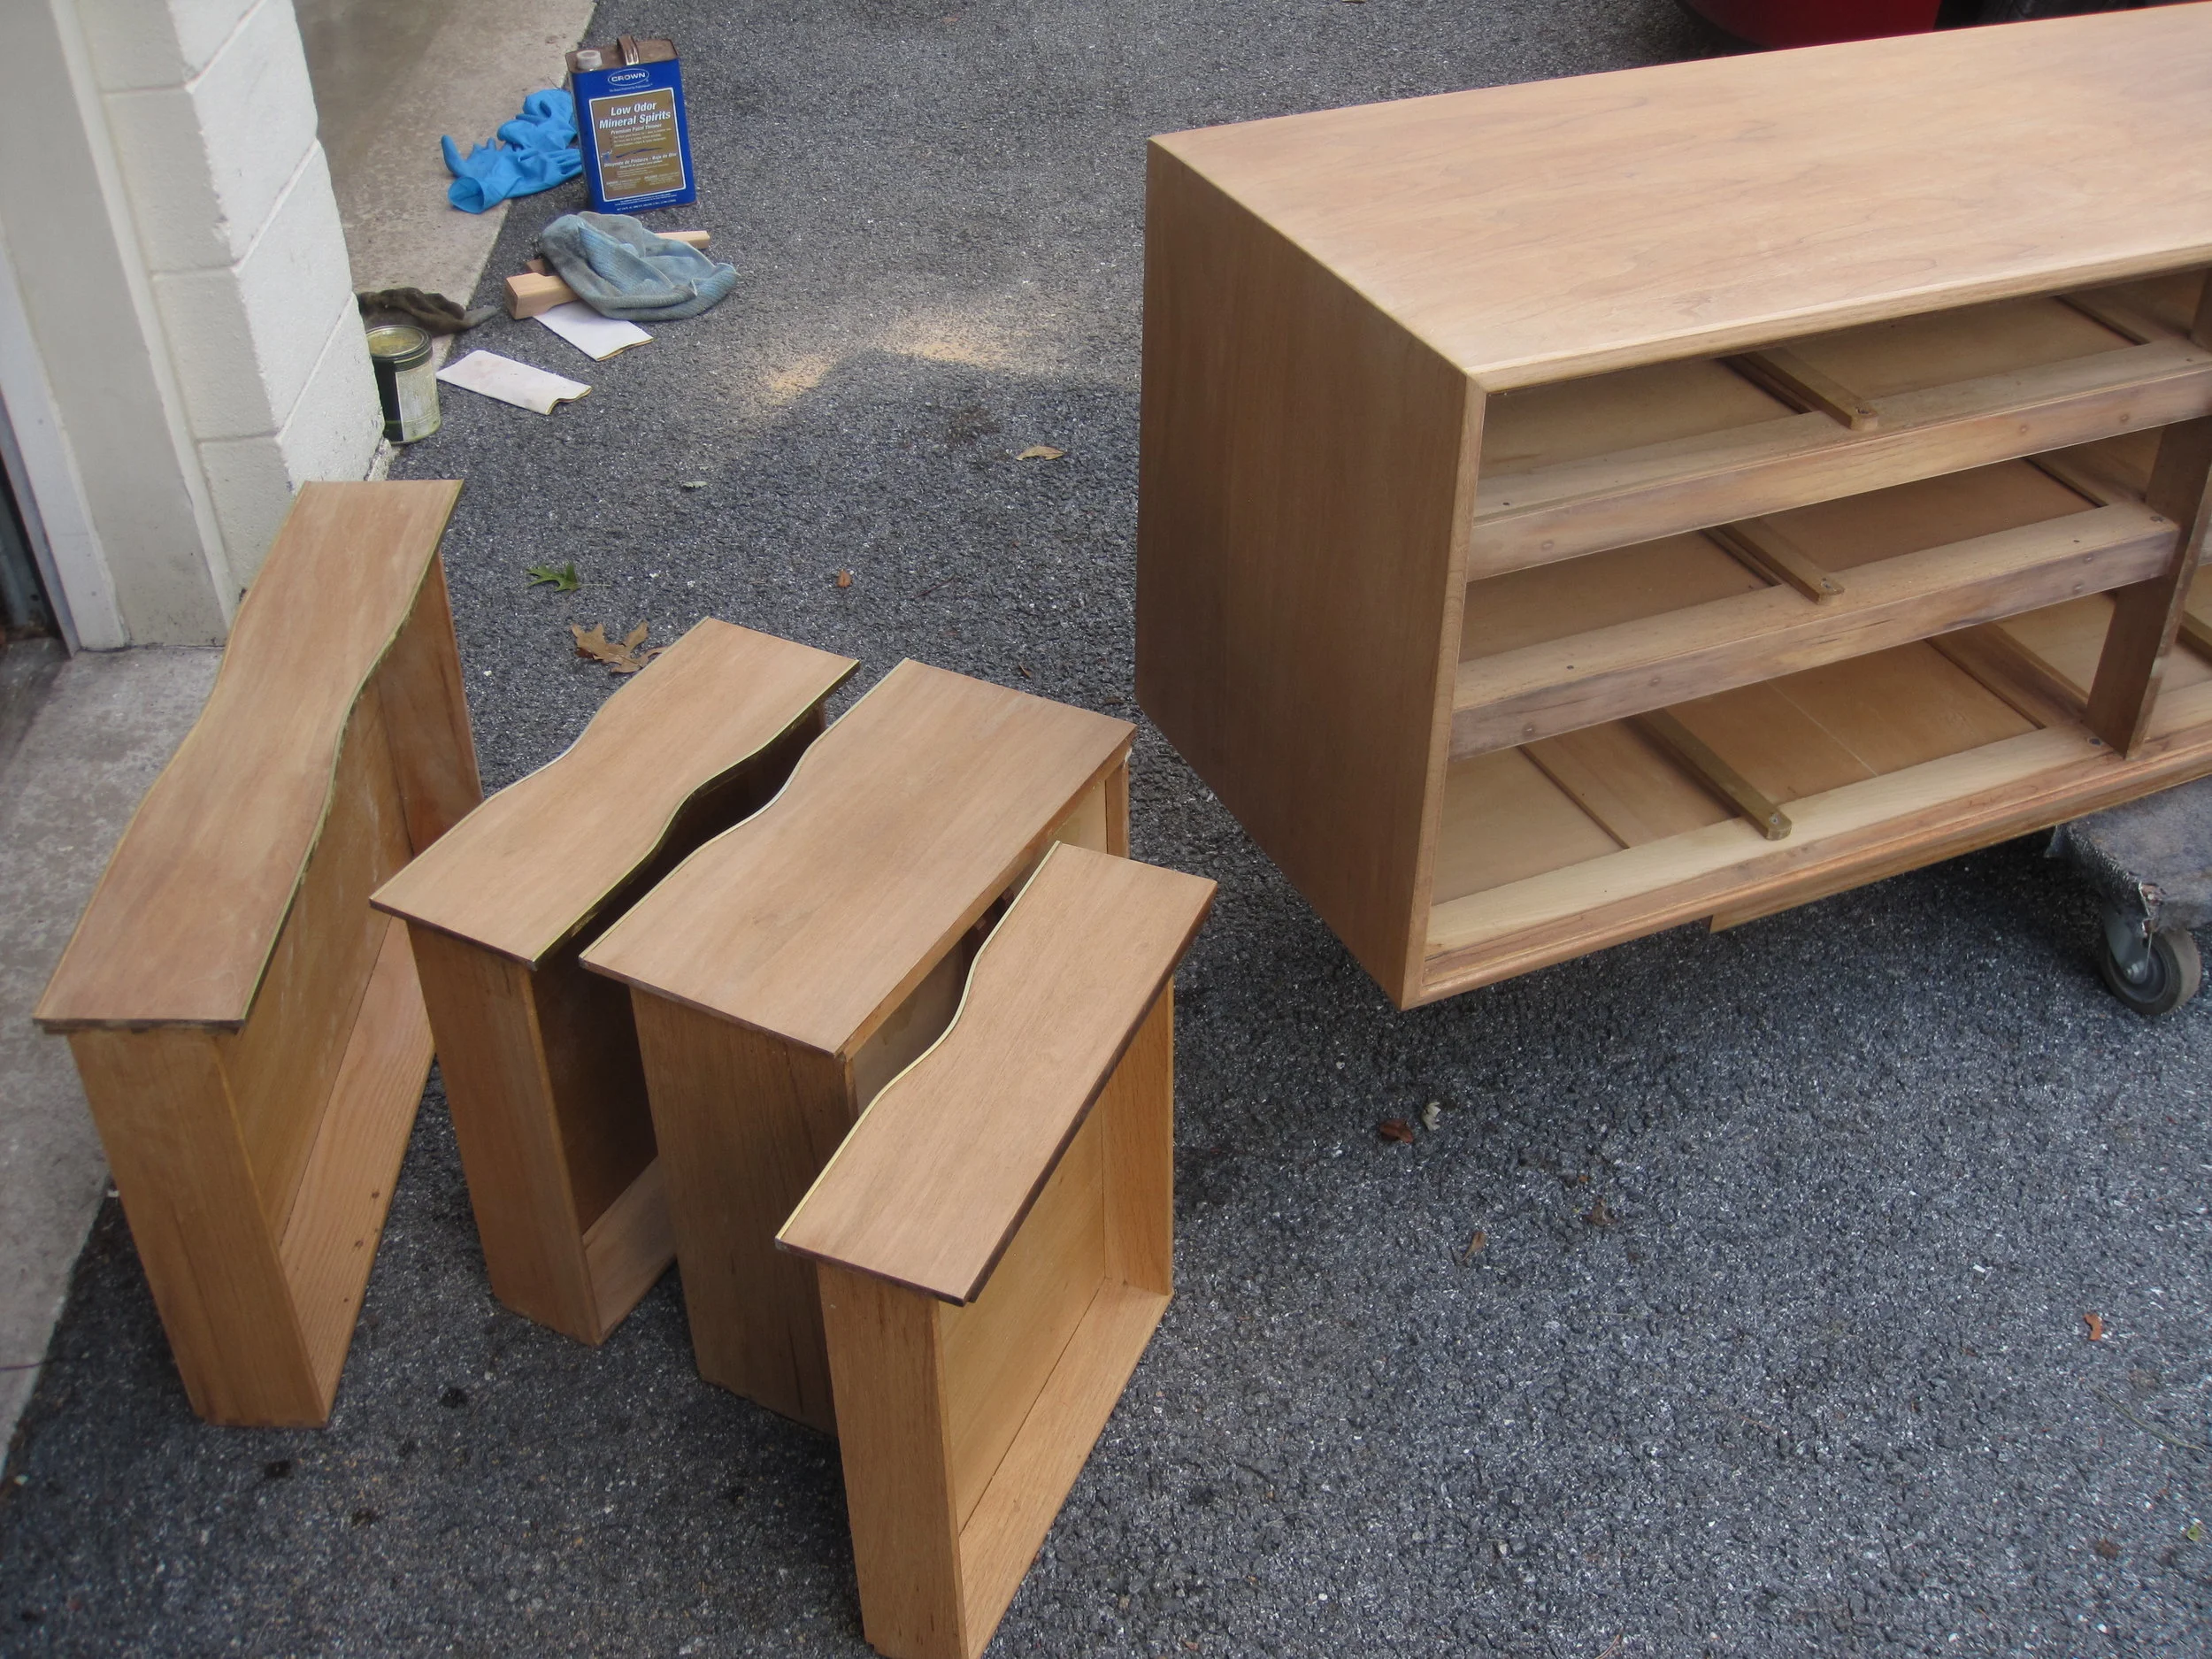
-apply stain. If you don't need the extra color - you can skip this step. Often the oil rub finish is enough to bring out beautiful color in the wood. If you do apply stain, make sure there is no tacky or standing/puddling stain. I like to wipe on the stain, let it sit a couple minutes and then dry wipe it.
-after stain is dry - wipe with an oil finish... allow to soak in for a few min and then dry buff with some clean lint free towels.
-if you have kids or pets, or the piece will be in a high use area, it might be a better idea to use a spray-on lacquer finish instead of the oil rub (the oil finish provides some protection, but not as much as a clear coat finish).